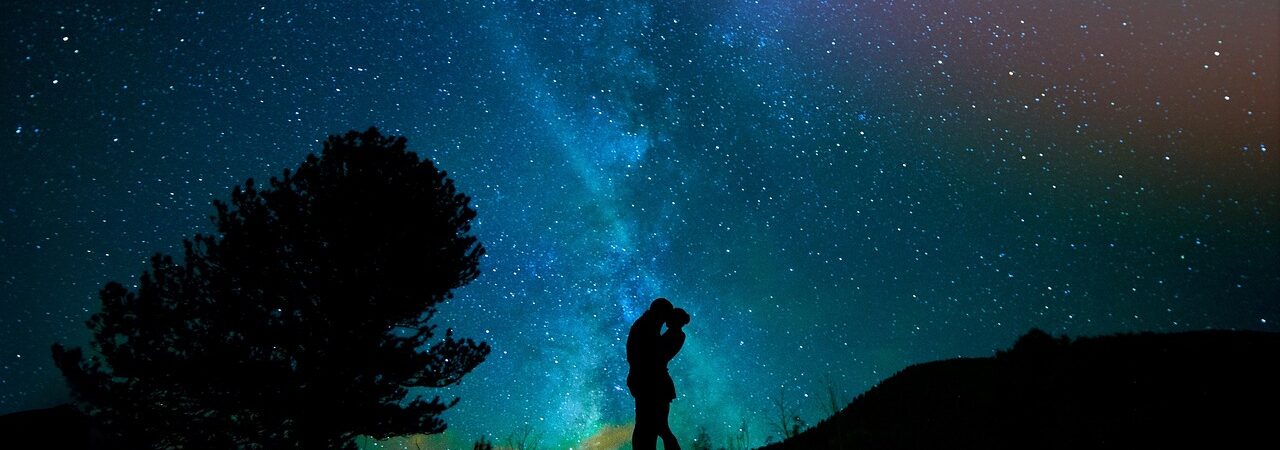
Astrophotography is one of the most awe-inspiring types of photography, allowing you to capture distant galaxies, shimmering stars, and the soft, ethereal glow of the Milky Way. For many, the idea of photographing the night sky is a thrilling endeavor—until they realize it typically involves staying up until 2 or 3 in the morning. But what if you’re someone who loves astronomy and photography but also values a good night’s sleep?
The good news is, astrophotography is still possible for early sleepers. With the right planning, tools, and techniques, you can enjoy this incredible hobby without sacrificing your bedtime. Here’s how to get started.
Understanding the Basics of Astrophotography
Astrophotography is the practice of capturing celestial events, stars, planets, and other astronomical phenomena using a camera. It ranges from wide-angle nightscapes to detailed shots of distant galaxies through a telescope.
The most common forms of beginner astrophotography include:
- Star trails – Long exposures that capture the apparent motion of stars as Earth rotates.
- Milky Way shots – Wide-angle photos of our galaxy’s core, usually best during the summer months.
- Moon and planetary photography – Easier to shoot, especially early in the evening.
- Nightscapes – Landscape photos that include stars, often shot during twilight.
If you’re someone who prefers to be asleep by 10 p.m., not all of these options are practical every night. But with strategy and patience, you can still produce stunning astrophotography results.
Best Timeframes for Early Sleepers
The key to successful astrophotography—without staying up late—is timing. Many celestial events happen well after midnight, but others occur during the evening twilight or shortly after sunset.
- Blue Hour and Twilight: Right after sunset and before full darkness sets in, you can often capture vivid nightscapes with a mix of lingering sunlight and visible stars.
- Moon Photography: The moon rises at different times depending on its phase. A waxing crescent or first-quarter moon is often visible during the early evening hours, making it ideal for photographing before bedtime.
- Planetary Alignments: Planets like Venus, Jupiter, and Saturn are often visible just after sunset and can be photographed with a telephoto lens or a beginner telescope.
- Winter Months: During winter, the sun sets earlier, and it gets darker much faster. This gives you a longer window of dark skies before midnight.
Tools and Equipment You’ll Need
You don’t need a professional-grade telescope to start astrophotography. In fact, many beautiful images are captured using just a DSLR or mirrorless camera, a tripod, and a wide-angle lens.
- Camera: A DSLR or mirrorless camera with manual controls is ideal.
- Lens: A wide-angle lens (14mm to 35mm) with a large aperture (f/2.8 or wider) works well for Milky Way and nightscape shots.
- Tripod: A sturdy tripod is a must to keep your camera stable during long exposures.
- Remote Shutter or Timer: To avoid camera shake during the shot.
- Star Tracker (Optional): A motorized mount that follows the motion of the stars, useful for longer exposures.
If you’re just starting and experimenting during evening hours, you can skip the star tracker for now.
Planning Your Shoot
Planning is critical when you have a limited night window to shoot. Use apps like Stellarium, Sky Guide, or PhotoPills to check star positions, moon phases, and visibility times for your location.
- Check the Weather: Clear skies are essential.
- Avoid Light Pollution: Drive out of the city to get darker skies.
- Use Moonlight Wisely: A half-lit moon can illuminate the foreground for nightscapes, though it can overpower fainter stars.
Tips for Capturing Great Early Night Shots
- Shoot During the New Moon: When the moon isn’t visible, the sky is darkest, making it easier to capture stars and the Milky Way.
- Start with Shorter Exposures: Try 10 to 20-second exposures at ISO 1600 to 3200 and adjust based on results.
- Use Manual Focus: Autofocus doesn’t work well in the dark. Use live view to focus on a bright star or distant light.
- Take Test Shots: Adjust settings based on your initial photos. Brighter images often require higher ISO or longer shutter speed.
Creative Ways to Practice Locally
If getting out to dark skies isn’t always possible, use this time to refine your camera skills at home. Experiment with settings, composition, and focus at night using nearby lights or the moon as subjects. Even something like a photo booth rental San Antonio at a local evening event can give you practice with low-light photography settings—teaching you how to manage exposure, ISO, and sharpness in dim environments.
Stay Inspired Without Losing Sleep
Astrophotography doesn’t have to be an all-night commitment. By choosing the right subjects and optimizing your workflow, you can get satisfying results during the early evening hours. Start small—maybe with a sharp moon shot or a silhouette against a starry sky—and build from there. Use your weekends, holidays, or the occasional late night to explore further when possible.
Conclusion
The night sky has endless stories to tell, and you don’t need to be an insomniac to hear them. Whether it’s capturing the golden edge of a crescent moon or the glow of Venus just after sunset, you can find celestial beauty in the earliest hours of night. So grab your gear, head out just after dusk, and start shooting the stars—before your bedtime.


